Installing bonnet vents is a popular modification for both performance and styling. Whether you're upgrading a track car, restoring a classic, or simply enhancing engine bay ventilation, this guide will walk you through the process step by step.
? Why Install Bonnet Vents?
- Improved Cooling: Helps hot air escape the engine bay, reducing under-bonnet temperatures.
- Enhanced Aesthetics: Adds a motorsport-inspired or aggressive look.
- Performance Boost: Supports airflow management for track and high-output engines.
? Tools & Materials Needed
? Tools:
- Jigsaw or angle grinder
- Drill with step bits
- Metal file
- Measuring tape & masking tape
- Safety glasses & gloves
- Rivet gun or bonding kit (if required)
- Clamps (optional for alignment)
? Materials:
- Bonnet vent kit (universal or custom)
- Cutting template (usually included)
- Rust-proof primer (for metal bonnets)
- Sealant or adhesive (if bonding vents)
- Optional: mesh backing for insect/debris protection
? Step-by-Step Installation
1. Choose the Vent Placement
- Identify the hottest zones of the bonnet (typically rear-center or above the exhaust manifold).
- Ensure vents won’t interfere with bonnet support structure or bonnet latch.
- Mark the placement using masking tape.
2. Apply the Cutting Template
- Stick the template onto the bonnet in the chosen area.
- Double-check alignment and symmetry.
3. Cut the Bonnet
- Drill pilot holes in the corners of the template area.
- Use a jigsaw or angle grinder to cut along the template lines.
- Smooth edges using a metal file.
- Apply rust-proof primer to exposed metal edges.
4. Install the Vents
- Rivet-on or bolt-on: Align the vent, drill fixing holes, and rivet or screw it into place.
- Bond-on: Apply high-temp automotive adhesive or sealant, clamp in place, and allow to cure.
5. Finish the Installation
- Optional: Install mesh behind the vents for protection.
- Paint or touch up as needed to match bonnet finish.
- Refit the bonnet and test open/close clearance.
✅ Tips for Best Results
- Use automotive-grade primer and paint to prevent rust.
- Consider heat shields or insulation inside the bonnet near hot zones.
- Avoid placing vents where water ingress may affect sensitive components (e.g., ECU).
- For aluminium or fibreglass bonnets, ensure appropriate bonding materials.
? Where to Buy Bonnet Vents (UK)
- Car Builder Solutions – Universal vent kits & accessories
- Forge Motorsport – Performance vent kits
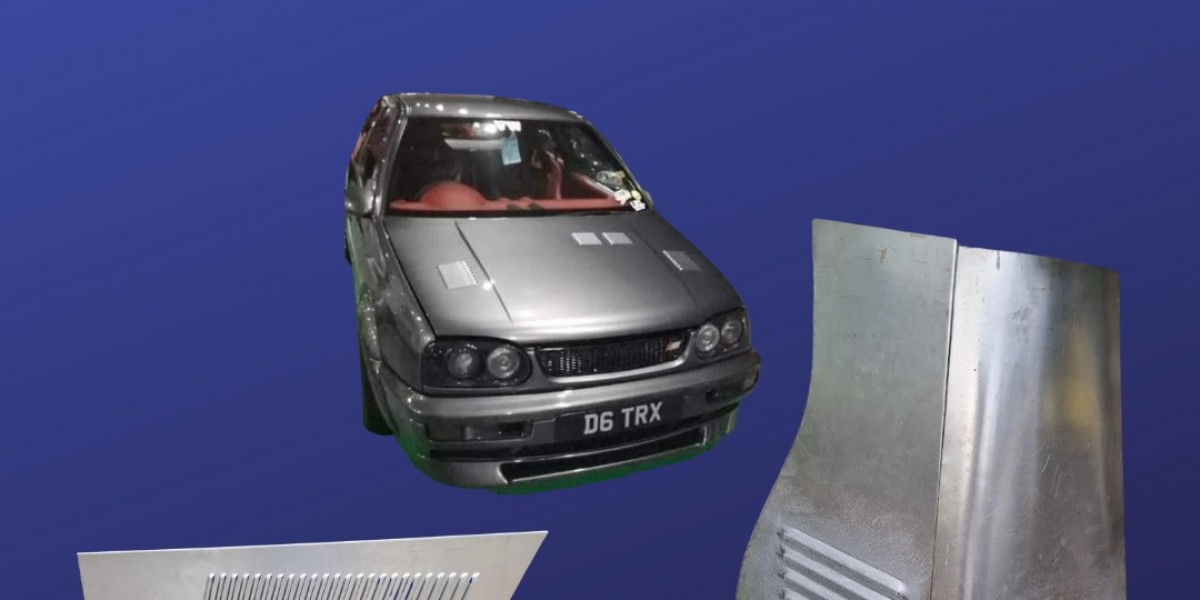
- Pro Alloy Motorsport – Custom pressed louvre panels
- eBay UK – Budget and OEM-style vents
? Legal Note (UK DVSA)
Bonnet modifications should:
- Not compromise pedestrian safety
- Not interfere with structural integrity
- Pass MOT (Ensure no sharp edges or loose fittings)